How to install an RCBO
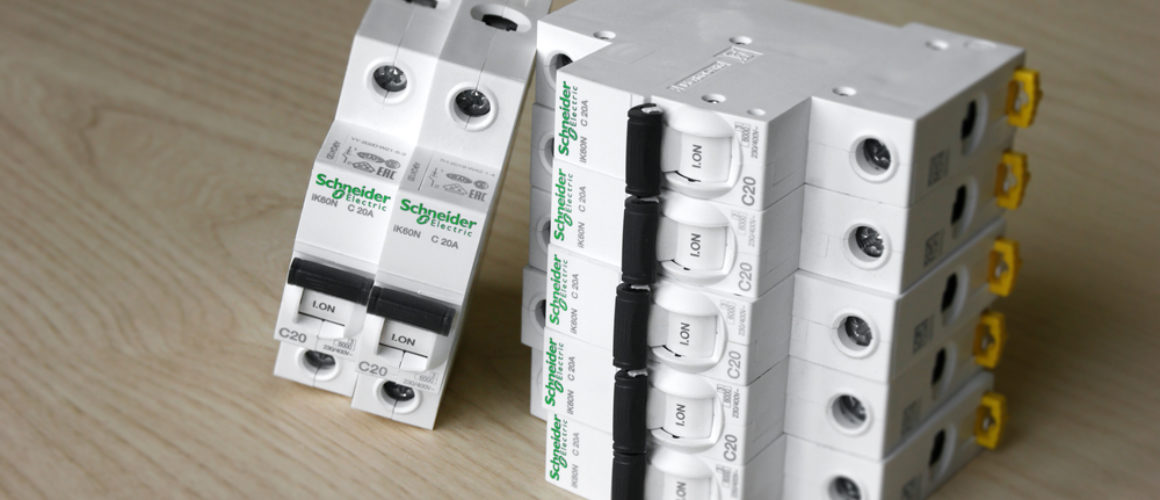
While conventional MCBs do a decent job of handling overloads, they can fall short when it comes to residual current. So, replacing your old MCB and RCCB with a new RCBO can enhance electrical safety in your circuits. These types of upgrades/changes work best when you go for reliable products. And our research reveals that the Schneider Acti 9 RCBOs are among the best that the industry offers today.
Important things to remember.
Specific details of removing and installing MCBs and RCBOs will vary depending on the model and type of circuit breaker you use. The C60HC32R30 model will install differently to the C60HC45R30 model for example. The steps given here are a more generic approach to how the process works. So, consult with your electrician or manufacturer before going through any of these steps.
Before we proceed, we strongly urge you not to perform these replacements on your own, without the expertise. Get the help of a qualified professional who can do it correctly, in minimum time, and with all safety measures in place is crucial.
However, it’s still useful to know how to perform these replacements. That way, you have an idea of what to expect and how to make the transition.
Installation Process
These are the general steps to install both Schneider Acti 9 RCBOs and other RCBOs in the market.
Step 1
The first step is to isolate your existing electrical supply to your consumer unit. Your electrician may use a simple lock and padlock or whatever other mechanism he sees fit depending on your circuitry. He may use a probe and indicator to make sure that the electrical supply is isolated properly.
Step 2
Now, you’ll have to detach the unit’s front cover. This cover usually comes with a simple and easy-to-remove mechanism. For most models, you’ll find two fasteners holding the cover in place.
Turn them about 90° to unlock and remove the cover.
Step 3
The next step is to prepare the terminal of the unit. Check the bottom of the unit to find the terminal. You’ll have to unscrew or loosen the terminal carefully so that the bottom comes loose.
Once this is done, open the clip that’s attached to the bottom of the device. Perform this step carefully so that you don’t make any unexpected mistakes.
Step 4
Next, you’ll have to place the RCBO in position. Your circuit board should have a din rail and bus bar on which new components can get installed. Place the RCBO in the appropriate position on the bus bar. Your electrician should know precisely where to place the unit. So, there’s little to worry about here if you have professional help.
Step 5
Close the clip at the bottom once the unit is in place. This will ensure that the RCBO gets securely set in place before you move on to the next steps.
Step 6
Make sure that the RCBO unit is firmly set in place on the bus bar. Once it’s placed in the correct position, find the lower terminal screw and tighten it again. Your Schneider Acti 9 RCBO should be perfectly placed in the bus bar and ready if done correctly.
Step 7
Perform a thorough check of all the tightening and connections. Make sure that no cable is loosely held or flimsy.
Once again, remember that professional expertise will ensure that you get all the required steps correctly. So, do not dabble with these units if you’re not sure what you’re doing.


